When you step out of Mumbai, pav breads taste more like buns. They are sweeter and denser and even more caramelized. Of course, they are great and delicious by themselves. But, they do not fall into the category of 'Pav bread' to be enjoyed as spicy Pav Bhaji or Wada Pav.
So what makes Mumbai's Pav so special?? First let's talk about physical characteristics. They are lightly browned, smaller, fluffier, softer, and when compressed, easily bounce back without breaking. As you bite into, they are soft and not sweet. With all of these measures of grading a perfect pav, I had found an amazing recipe that I used 8 years back in India. When we moved to the US, we tried so many varieties and kinds of dinner rolls and buns, but none of them would go well with Indian Bhaji. I had to reinvent the wheel! There are tons of Pav making recipes online. Maybe they are all great. But, the texture and taste is not the one found in the Pav of Mumbai. I partially remember the recipe I used in India. So with many trial and errors, I finally have one that I can truely call Pav.
Are we (Snehanshu and me) obsessed with it? Maybe yes! You can call it obsession or just being particular about the taste of the overall dish (Pav Bhaji). We have sneaked Pav Bread from Mumbai into the US borders to enjoy our Pav Bhaji here :) But, that was just once!! If you too are picky like us, do give this recipe a try. I am sure, you will remember Juhu Beach Pav Bhaji or Sardar's Pav Bhaji smeared with butter.
Ingredients
1+1/4 cup water
2 tbsp. sugar
1 pack yeast
3 tbsp. unsalted butter
3 cups all purpose flour/maida
Extra flour for kneading the dough
1 tsp. Salt
Slightly more butter and flour for greasing and dusting the pan.
1 pack yeast
3 tbsp. unsalted butter
3 cups all purpose flour/maida
Extra flour for kneading the dough
1 tsp. Salt
Slightly more butter and flour for greasing and dusting the pan.
- Start with 1 1/4 cup warm water (100F) in a large bowl. Add 1 packet
Yeast
, (2 1/4 tsp.) and 2 tbsp. sugar. Mix and let the mixture rest for 5 minutes.
- Add 3 tbsp. melted unsalted butter, 1 tsp. salt and 3 cups all-purpose flour.
- Mix together to make a sticky dough.
- Lightly dust your clean counter. Empty the dough and knead it for 8-10 minutes. This is the most important stage to develop gluten, and make the dough elastic. It is okay to use around 1/4 cup flour while kneading (if needed).
- Keep the dough in a greased large bowl. Cover and let it rest for an hour.
- Use a tray or baking box 9"X13" to arrange and bake pav breads. Grease and dust it with flour.
- After an hour the dough should have doubled in size. Knead the dough again for 8-10 minutes. Divide into 12-15 parts, and arrange them in a tray leaving 1 1/2 inch space in between.
- Cover and let the dough proof for 45 minutes to 1 hour.
- (It is okay to keep it a little longer too. Maximum 1 1/2 hour.)
- Proofing is the process just before baking. The dough is covered and is allowed to rest to double in size.
- Bake in a 450F preheated oven for 8-10 minutes or till they get lightly browned.
- When you first remove the pav from the oven they might feel hard on the top. Do not worry. They will be super soft as they cool down.
- Remove and let them rest on a cooling rack.
- Let the pav bread completely cool on the rack.
- Serve with Pav Bhaji, Wada Pav, Misal Pav.
Here is step-by-step pictorial recipe:
Start with 1 1/4 cup warm water (100F) in a large bowl. Add 1 packet
Yeast,
(2 1/4 tsp.) and 2 tbsp. sugar. Mix and let the mixture rest for 5 minutes.


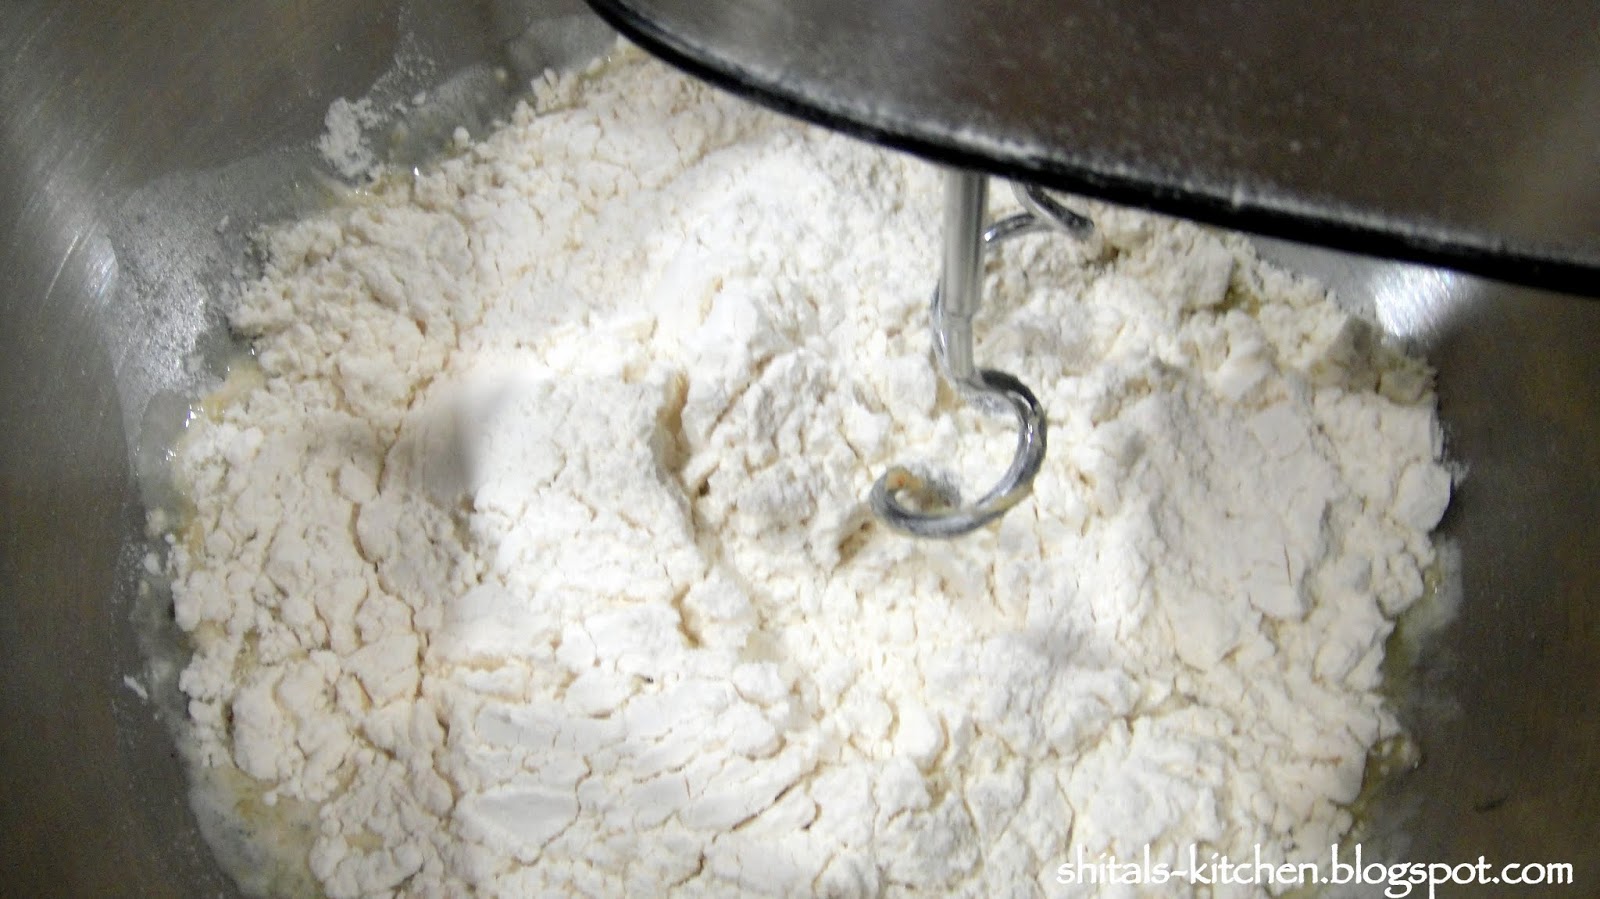
Add 3 tbsp. melted unsalted butter, 1 tsp. salt and 3 cups all-purpose flour.
Mix together to make a sticky dough.
(You could also use whole wheat flour as healthier option to all purpose flour. But, due to lack of gluten the texture of whole wheat pav would be surely different. Just use 2 tbsp. more water and knead the dough more to develop gluten.)
(You could also use whole wheat flour as healthier option to all purpose flour. But, due to lack of gluten the texture of whole wheat pav would be surely different. Just use 2 tbsp. more water and knead the dough more to develop gluten.)


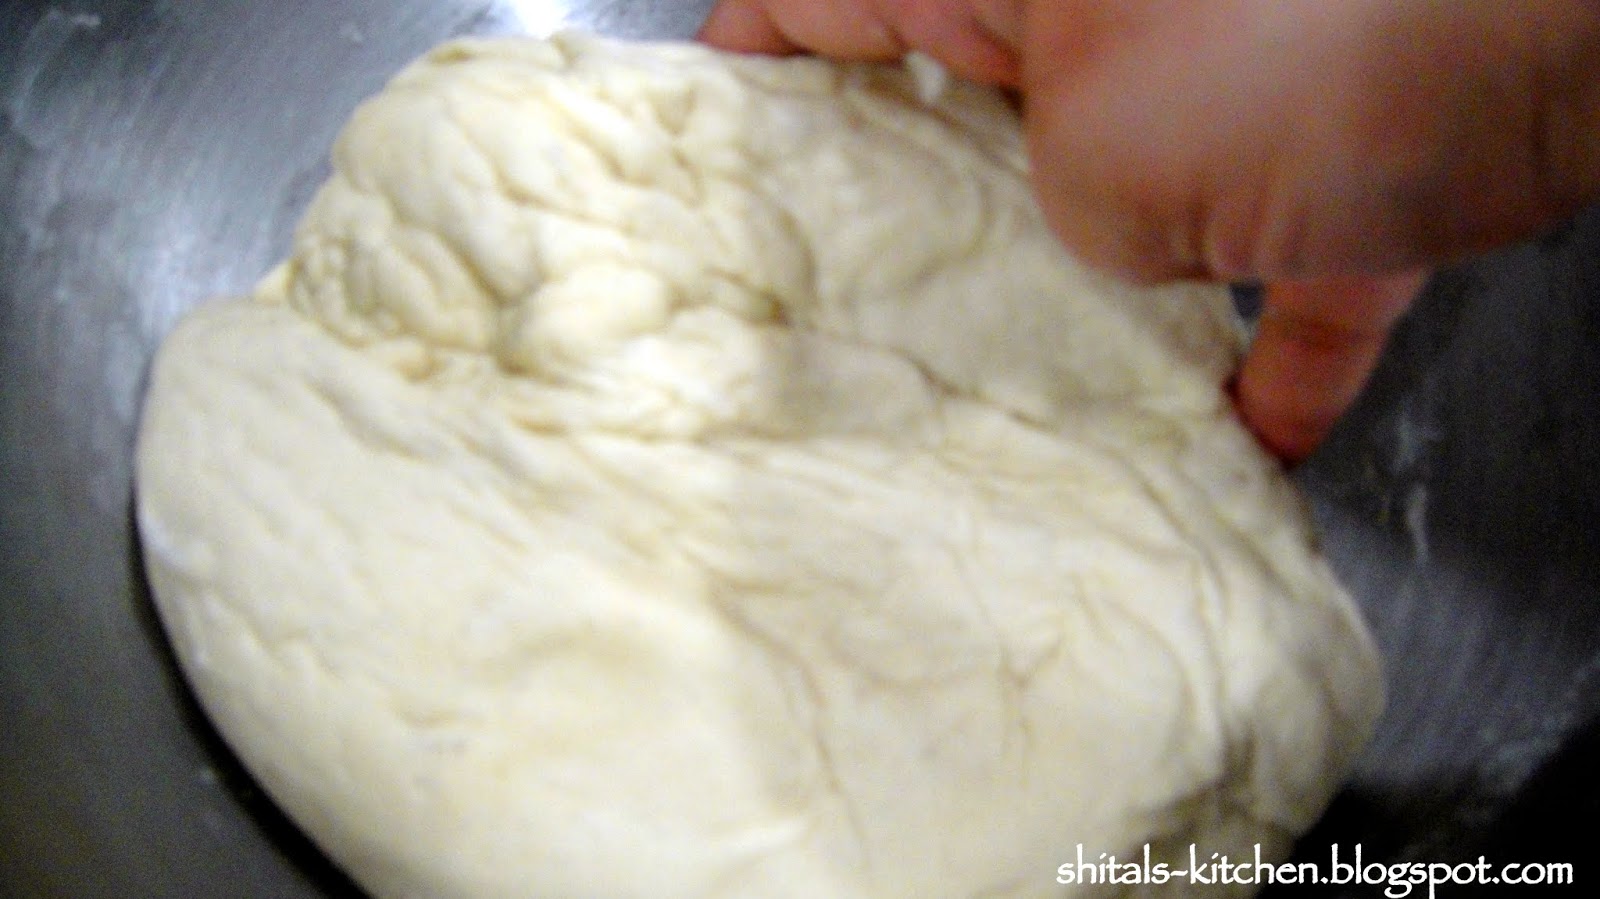
Lightly dust your clean counter. Empty the dough and knead it for 8-10 minutes. This is the most important stage to develop gluten, and make the dough elastic.
It is okay to use around 1/4 cup flour while kneading (if need be)
It is okay to use around 1/4 cup flour while kneading (if need be)


Keep the dough in a greased large bowl. Cover and let it rest for an hour.

Use a tray or baking box 9"X13" to arrange and bake pav breads. Grease and dust it lightly.


After an hour the dough should have doubled in size. Knead the dough again for 8-10 minutes. Divide into 12-15 parts, and arrange them in a tray leaving 1 1/2 inch space in between.


Cover and let the dough proof for 45 minutes to 1 hour.
(It is okay to keep it a little longer too. Maximum 1 1/2 hour.)
Proofing is the process just before baking. The dough is covered and is allowed to rest to double in size.
(It is okay to keep it a little longer too. Maximum 1 1/2 hour.)
Proofing is the process just before baking. The dough is covered and is allowed to rest to double in size.

Beautiful!!
The dough was allowed to rise and double in size.
The dough was allowed to rise and double in size.
You can see dark colored air pockets inside :)


Bake in a 450F preheated oven for 8-10 minutes or till they get lightly browned.

When you first remove the pav from the oven they might feel hard on the top. Do not worry. They will be super soft as they cool down.
Remove and let them rest on a cooling rack. They were so delicate, that I was scared to handle them :)


Let the pav bread completely cool on the rack.
You need not apply any butter on top. Think about it; Pav is such a staple, affordable, poor man's daily food. Bakeries are not going to smother it with butter.

Look at the beautiful mesh and air pockets!!

Lightly colored underside!!


Love the flavor of warm bread with butter.
Reminds me of my childhood. Papa used to buy fresh pav from the bakery close by. Even before mummy would make bhaji (mix veggies), we would enjoy warm pav bread as is!! :)

With freshly baked pav bread, made delicious, spicy bhaji.
Here are butter roasted Pav and some Masala Pav.


Updated on 8/24/2015
Thank you so much for the overwhelming response and loving my recipe a lot. Thank you so much for sharing reviews and pictures on my Facebook page and by personal messages.
I am also sharing one of my Facebook posts from few days ago. Some of you might have seen this already. "I have come across so many pav recipes. Some people add milk powder
to it, and some add milk to it. Some wash it with milk or egg, and some
with butter. None of those recipes are incorrect, but I would not label
those as Mumbai Pav for Pav Bhaji or Wada Pav. My knowledge and sense of
Mumbai food said that Mumbai Pav would just have basic simple
ingredients to make those pav buns affordable to regular people and
daily commuters. And, after lot of experimentation, I came up with my Mumbai pav recipe that so many people have loved and enjoyed...Here is the link http://shitals-kitchen.blogspot.com/2014/03/pav-bread.html
Few days back, I could validate my pav recipe when I stumbled upon a
documentary of pav being made in a bakery. I could not understand every
bit of the language spoken in the video. But, I could deduct the basic
ingredients used to make the staple food for more than thousands of
people in Mumbai; Yeast, sugar, salt, flour, water, and fat".
I am also updating this blog post by answering FAQs.
1. Can I use my KitchenAid mixer to make pav?
Ans. Yes, you can use KitchnAid mixer with a dough making hook to make the dough as well as knead the dough. You can use a food processor too with dough making blade. If using a mixer or a food processor, knead the dough for 3-4 minutes on medium setting. Below are the videos of mixing the dough and kneading the dough in my kitchenaid mixer.
2. What type of yeast do you use?
Ans. I mostly use Rapid rise or Instant dry yeast.
3. Could I use whole wheat flour instead of maida?
Ans. Maida/ all purpose flour has more gluten compared to wheat flour. So pav/bread made with maida are softer and fluffier compared to whole wheat. You can use whole wheat and maida combined for good results rather than only whole wheat. Also, 2 tbsp. gluten powder (available in grocery store) can be used with whole wheat flour to make whole wheat pavs.
4. Do I have to cover the dough with moist napkin.
Ans. No, you can also cover with a plastic lid.
5. What is the size of your baking tray?
Ans. I use 9"x13" tray/pan with a raised lid to prevent pav from touching the top. Here is the picture.

6. Could I bake pav in the microwave?
Ans. If your microwave has a convection setting you can bake in it just like regular oven. Preheat oven to 450F or 232 degree C temperature and then bake in it.
7. Could I use aluminum foil tray to bake instead of metal tray?
Ans. Yes you can. Grease the tray well.
8. Could I use oven safe glass pan to bake pav.
Ans. Yes, you can use oven safe glass pan but you need to grease it well.
9. How do I make the top of the pav smooth.
Ans. You need to get rid of all the cracks and knead each dough ball well in your palms to obtain a smooth top. Here is the video to make smooth pav so that they bake evenly.
10. I followed the exact recipe but my dough did not rise. What did I do wrong?
Ans. Remember the most important ingredient to make pav is the little microorganism Yeast which feeds on sugar to produces carbondioxide that makes the dough rise. Yeast also requires warmth. Very hot water will kill yeast and cold water will not activate yeast. Water temperature should be warm. Also, if the climatic condition of the place you are in is cold, place the dough in slightly warm oven to proof.
11. Do I have to use milk powder or milk to make the pav soft?
Ans. You need not add any milk or milk powder. Pav is a poor mans food something that can be affordable. The basic ingredients like water, yeast, sugar, flour, and fat should do the needful.
12. What if I do not have unsalted butter?
Ans. Use salted butter or ghee or olive oil or dalda/ vegetable shortening.
13. Why do I have to knead the dough?
Ans. Kneading develops gluten and makes the dough soft and elastic. When yeast releases carbon dioxide gas, the elasticity in the dough helps the dough to rise and traps bubbles.
14. I followed the baking process but my pav did not get a good brwon color on top. Why did that happen?
Ans. Baking depends on the type of oven too. Try to understand your oven and keep the tray in the middle rack. Preheating the oven is a very important step too. If the pav is perfectly baked but did not brown, broil for 2-3 minutes of till the top browns.
15. How do I store pav?
Ans. Store in a zip lock bag or airtight box to prevent pavs from drying. Pavs can be store on the kitchen counter for 2-3 days or in the refrigerator for a week or more.
16. My dough was very sticky and I was unable to make smooth balls. What should I have done?
Ans. You could use dry flour while kneading the dough or while making balls.
17. Do I have to give pav milk or egg wash before baking?
Ans. You can but you do not have to. Puff pastry and bun recipes do need it but not mandatory for pav.
Enjoy freshly baked homemade pavs!