Shital's-Kitchen: April 2014

Friday, April 18, 2014

Hand Rolled Potsticker Wrappers

Every time I make potstickers or spring rolls, I buy ready wrappers as they are easily available, and makes cooking so much quick and simple. But these ready wrappers are not available everywhere and I get lot of emails and questions for how to make these wrappers. I checked out quite some YouTube videos on Chinese street food and how to roll the wrappers. I also bought a Chinese rolling pin to try out an authentic way of doing it :) It was an amazing experience!!

You will not believe how easy they are, and so much delicious than ready made wrappers. Ready made wrappers tend to get slightly chewy after steaming them. Hand rolled wrappers are soft and just melt in your mouth. Try this out soon. I promise, you will love them!

As the name suggests, Potstickers, the ones that stick in the pot, are deliciously crisp and soft steamed at the same time! These are like pan fried dumpling. I love just the steamed ones like MOMOS too, but Snehanshu likes potstickers as they are crisp from beneath. Here is my recipe with store bought wrappers posted last year: http://shitals-kitchen.blogspot.com/2013/03/potstickers.html

Start with potsticker or dumpling filling.
Select your veggies.
Finely mince the veggies or use a food processor to help you do that.


Heat 1 tbsp oil in a wok or a pan. Saute minced onions, ginger and garlic for 2-3 minutes. Saute chopped bell pepper too.

Mince carrots and beans. Cook them with other veggies till they are slightly tender.

Add a tsp. of salt. Add finely chopped cabbage and cook for 4-5 minutes. Add 1 tsp. vinegar.


Add spring greens, and let the filling cool.

 
 Meanwhile, prep for wrappers.
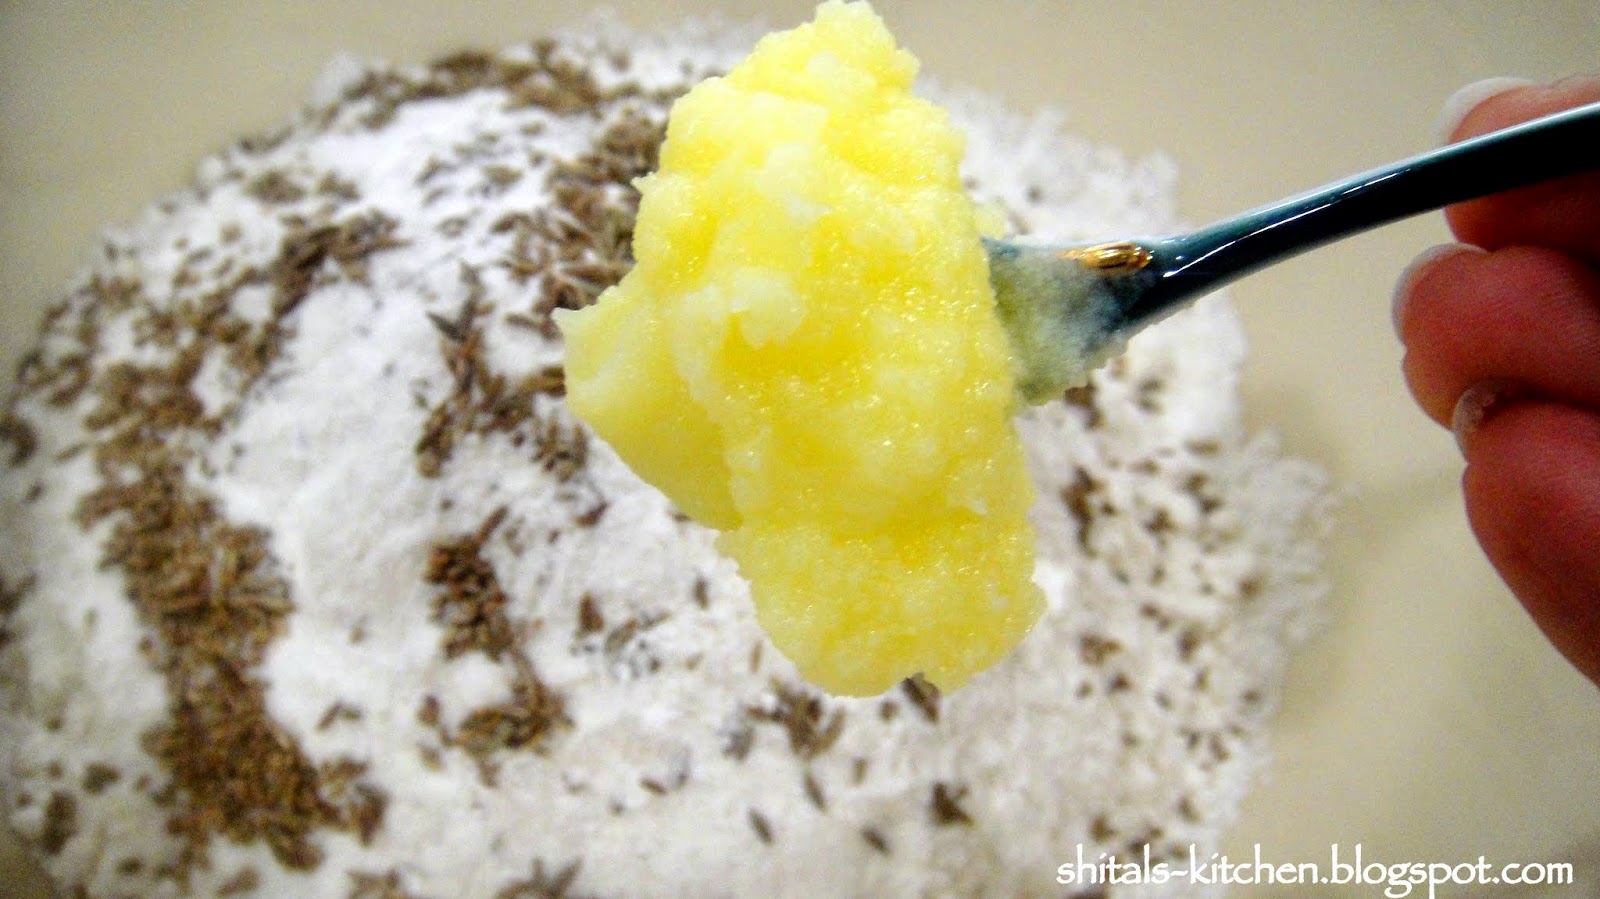
Mix 1 cup all-purpose flour and 1/2 tsp. salt. Make a stiff dough with around 1/4 cup of water. Knead the dough well, and let it rest for 10-15 minutes.


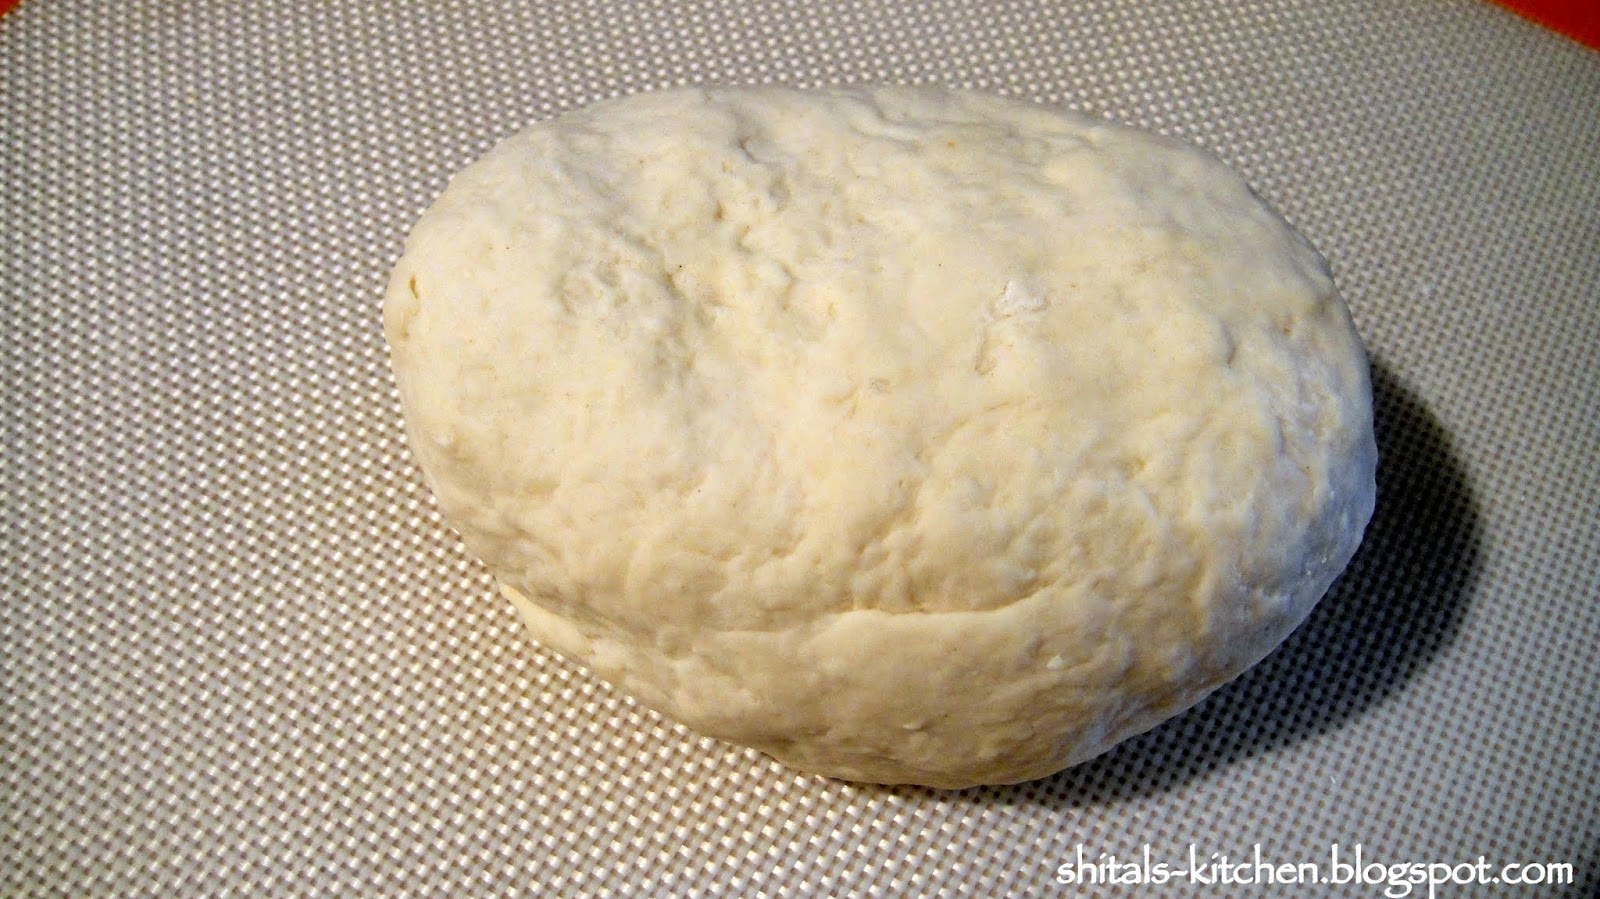
 Dough kneaded and rested, ready to be rolled.
Chinese rolling pin to roll wrappers. You could use regular rolling pin too. 
I bought this one to try it out.

Roll the dough into a long rope. Divide it into 25-30 equal parts. Make small balls. cover with flour to avoid sticking.


Use dry flour on the rolling surface and the rolling pin. Roll out into 3-4 inch diameter circles keeping the edges slightly thinner than the center.


Use enough dry flour to avoid sticking. Roll all the wrappers before making the dumplings.

Yes, these are a bit time consuming compared to buying ready made wrappers. But, I had help and support from my sous chef, my lovable husband, who helped me roll the wrappers so that i could fill and fold them :)

Do not worry if it not perfectly round. They is hand rolled, and are surely going to be slightly uneven and rustic.

Fill a tsp. of filling. Apply water on the sides of the wrapper and pleat them together. You can also make small potli or drawstring bag by bringing the sides together and pinching them.


Here is a video to explain how to fold a potsticker.

Brush or spray 1 tsp. oil on a hot pan. Place potstickers and slightly brown them. Add 1/2 cup water and cover the pan. The water will steam and cook the potstickers. When water completely evaporates and potsticker wrappers get translucent, they are ready to be served.


 Chilli- Garlic, Spicy Schezwan dipping sauce.
Deseed and devein dry red chillies and keep them aside. Heat oil in a frying pan till it is luck warm. Oil should not be very hot or smoking. Soak the red chillies in the lukewarm oil for 3-4 hours. In a blender, coarsely grind with garlic, salt and vinegar.

Sweet, garlicy, honey and soy dipping sauce.
Mince garlic and 1 spring onion. Mix in some honey, dark soy sauce and some sesame oil.

Red Sichuan Pepper dipping sauce. 
Sichuan peppers are spicy pepper corns that can numb your tongue. I found these at an Asian market.
Roughly grind Sichuan pepper and fry them in a tsp. of oil. When cooled, mix in vinegar and honey to your taste.

My favorite with dumplings is Spicy Schezwan Sauce. 
Whereas, Snehanshu likes the garlic and spring onion honey soy the best!


个饱
Gè bǎo
Bon Appetit

Thursday, April 17, 2014

Dal Pakwan

With busy lifestyle and everyday healthy routine, weekday breakfasts are quick and healthy. But, Saturday is the time when Snehanshu can ask for and enjoy his brunch. Dal Pakwan is something that brings smile on his face. I know, most of us try to avoid fried food, but once in a while it is surely justified. If you think this recipe is fattening and high in calorie, read the entire recipe and then decide :)

You will not believe it, Snehanshu was so excited that he reminded me a day before to buy all ingredients and to soak split chickpeas (dal). He wanted to make sure I don't get a loophole out and save myself from cooking this delicious brunch.

Dal Pakwan is a delicacy amongst Sindhis. Dal is a thick cooked split chickpea curry enjoyed with crispy, fried flat bread called Pakwans. These crisp pakwans can easily scoop dal and can be enjoyed with the side on onions and chutnies. You will find various idea and alternatives in this recipe. Keep reading! :)

Plan this for your weekend special!
Chana Dal or Split Chickpeas

Soak 1 cup chana dal in 2 cups of water for 3-4 hours or overnight if you want to cook it early next morning.

Remove in a container and add just enough water till dal is covered with water.
Do not add excess water.


Add 1 tsp. salt, pinch of turmeric, and pressure cook for 20 minutes or 3 whistles.


Here is perfectly cooked dal. Tender but not watery. This will give a good texture to dal.

Julienne ginger and green chillies.

I used my terracotta pot to temper dal and serve in the same one.
Pretty isn't it??

Remove dal in a pan/pot. Add 1 cup of water if needed. Do not make it very watery.


Add 1 tsp. garam masala (all spice powder) and 2 tsp. amchoor powder(dry mango powder).


In a tempering pan, heat 1 tbsp. ghee. Add 1 tsp. whole jeera seeds. green chillies, dry red chilli and ginger. Fry for a minute.


Add 1/2 tsp of red chilli powder.


Pour temper over dal.


Mix and simmer for 5 minutes. Sprinkle frech cilantro and serve with Pakwan and chutnies.


While dal pressure cooks, it is time to prepare crisp pakwans. It is also a good idea to prepare pakwan in advance and store them in airtight container till it is ready to serve. Great for potlucks or parties.

Take 2 cups all-purpose flour/maida.

Add 1 tsp. carrom seeds/ajwain and 1 tsp. cumin/jeera. Add 1 tbsp. ghee and make a stiff dough using stightly less than 1/2 cup water


Knead and let the dough rest for 15-20 minutes.

Take a round 1-2 tbsp. size of dough. You can decide the size of the paknan. Roll out the dough to form thin pakwans.


Using a fork, prick in few holes. This will make pakwans crisp and flaky.


Fry in hot oil on both sides for a minute of two till they are golden brown. Light colored pakwas will tend to be crisp and first, but might turn soft later. Fry them well.


Serve with dal, onions, lime, and chutnies.

Getting more into an experiment mood, I tried using my taco maker. 
As soon as the pakwas started to fry, I held it between taco press and fried it further.


Love the shape! Fill with dal, onions, chutnies, and serve as DAL PAKWAN TACO!


This will surely be a winner!

I also tried small bite size pakwan scoops.
Roll out small 2 inch diameter pakwans. Slightly fold the edge to form a cone. Deep fry in hot oil till they turn golden brown.


Here is Snehanshu's turn to try: he pressed small pakwans between metal 2 strainers and fried them. Lovely shape!


Bitesize, easy to eat pakwan scoops.


Serve as Dal Pakwan Chaat or appetizers.


Here are some baked pakwan cups.
Brush some oil and bake in 350F oven for 8-10 minutes or till they turn golden brown.


Another baked option.
Bake rolled pakwans in a 350F over for 7-10 minutes.


Snehanshu likes to add in sweet and spicy chutnies.

I like mine with onion and freshly squeezed lime on dal. 

Just break a piece of pakwan, scoop some dal and enjoy with onions!
Enjoy your Weekend Brunch!